Get Your Air Conditioning System Ready For Summer
TL;DR: Proper maintenance of your air conditioning system is crucial, especially in hot areas like Vero Beach. Beyond filter changes, it involves inspecting components, checking coolant levels, and adjusting thermostat settings. Seasonal prep includes cleaning around the outdoor unit in spring and switching to programmable thermostats for summer efficiency. Fall and winter prep involves turning off power to the unit and covering it to protect against ice and snow. Professional maintenance ensures optimal performance, and Air Docs Heating and Air in Vero Beach offers expert services to keep your AC running smoothly.
Air conditioning systems are an almost indispensable part of homes across the US, so getting yours ready for the season ahead is something you can’t afford to overlook. That is especially true in places like Vero Beach, where the summer seasons bring a risk of dangerously high temperatures.
The heat risk factor in 7,388 homes is extreme, and a reliable cooling system is the only thing that can make them livable. A well-maintained AC won’t fail you in the middle of summer, so you must do your best to keep it at its best. Preparing your air conditioning system for the season ahead can significantly change how well your unit operates.
This preparation goes beyond a simple filter change – it involves a thorough check to see if your system runs efficiently. Let’s see how taking the time to prepare your AC for heavy use will lower the indoor temperature of your place and the amount of your electric bills.
Inspection and Maintenance Checklist
Proactive attention goes a long way in keeping your home comfortable and your air conditioning system running smoothly. You might not think about your AC system daily, but neglecting it can lead to decreased efficiency and, ultimately, more frequent and expensive repairs.
Regular maintenance is the easiest way to protect the AC from malfunctions and part failures. It involves a comprehensive inspection and maintenance routine that keeps your system operating at its best year-round. Every homeowner must have an AC maintenance list to know what they can do and what should be left to the professionals.
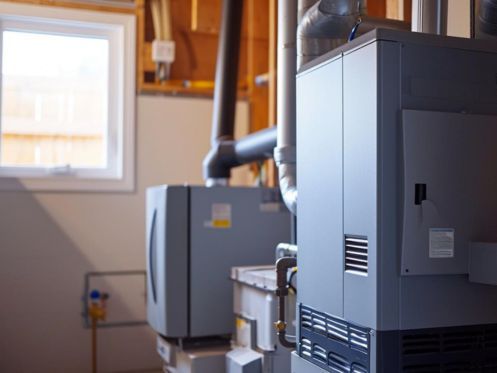
External Inspection
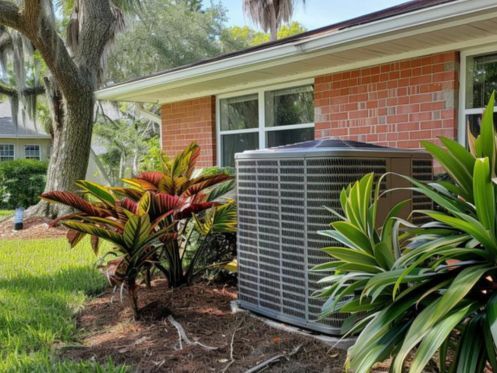
Start with the space where the outdoor unit is. Remove debris, such as leaves or branches, and trim vegetation to remove anything that can block airflow. Then, look closely at the unit for any signs of wear or damage.
Filters
The air filters impact your indoor air quality and the efficiency of the AC system. You should replace or clean your AC filters regularly, typically every 90 days, or more often if you have pets or allergies. Replacing dirty filters can significantly improve the air you breathe and decrease energy consumption by up to 15%.
Ductwork and Vents
The AC’s ductwork and vents are the components that circulate cool air throughout your home. Check for any blockages or leaks in the ductwork, as these can hinder performance and lead to uneven cooling. Additionally, ensure vents are clean and free from obstruction to maintain unobstructed airflow.
Coolant Levels
The coolant in your AC system is the component that cools the air in your home. Homeowners must check the coolant level to ensure the AC system can perform optimally. If your home isn’t cooling as well as it should be, it might be a sign your system is leaking.
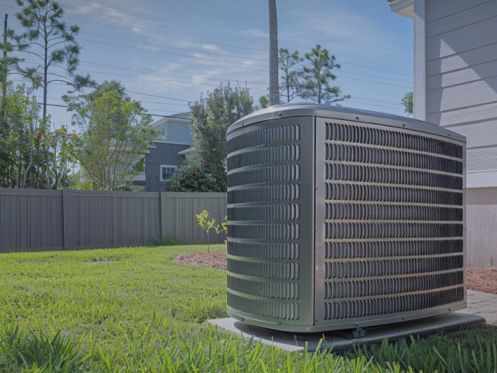
Condenser Coils
Your AC’s condenser coils expel heat from your home, and they need to be free from build-up to do their job effectively. Inspect the coils for dirt or debris that might prevent heat transfer, and clean them carefully.
Thermostat Settings
Finally, pay attention to your thermostat. Test it to see if it’s working correctly, and adjust the settings for the upcoming season. A properly functioning thermostat keeps your home comfortable and helps reduce energy consumption by regulating the temperature more efficiently.
Preparing the AC for Different Seasons
As the seasons change, so do your expectations of your air conditioning system. When summer approaches, you want it to swirl out cool, refreshing air. But as winter draws near, your focus might shift to maintaining indoor air quality and protecting the unit from the cold.
That means you’ve got to tackle AC preparation with a season-specific approach so your system is ready to meet your needs, whether blasting cold air during summer or warming your toes during winter.
Spring and Summer Preparation
As the snow melts and the days start to lengthen, it’s a signal to get your AC in gear for the upcoming heat. Give your system a good once-over and remove any debris accumulated around the outdoor unit.
Leaves, twigs, and dirt can block airflow and reduce efficiency, so keeping the area clean is a good starting point. Don’t forget to check your coolant levels as well. Adjusting your thermostat settings is also vital for summer.
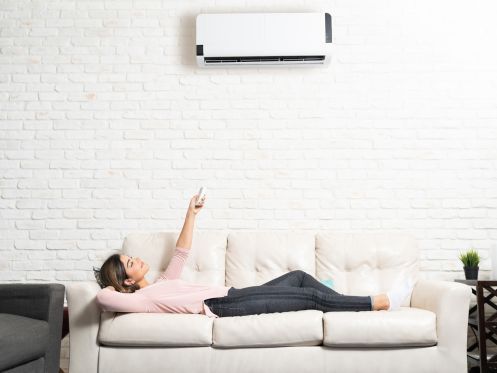
Switching to a programmable thermostat or adjusting your current settings can keep your home comfortably cool without overworking your system during the hottest parts of the day. Setting the thermostat to a slightly lower temperature for at least a few hours daily can save you 10% on your electricity bill.
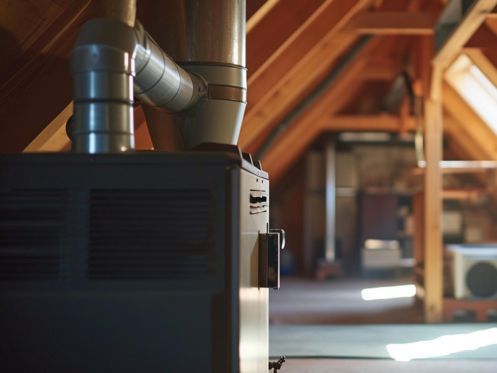
Fall and Winter Preparation
If you’re in a region where you won’t use your AC during winter, consider turning off the power to the unit. That can prevent accidental activation on an unseasonably warm day, which could result in water damage if the system starts up and then freezes again.
Covering the outdoor unit can protect it from ice, snow, and debris. If you plan on covering the unit, use a breathable cover to avoid trapping moisture inside, which could lead to corrosion or other damage.
Common Problems and Troubleshooting
When your AC unit starts acting up, peace of mind flies out the window. The issues can vary from filters clogged with dust and dirt to coolant leaks or a thermostat on the fritz.
Sometimes, a simple filter change or thermostat reset does the trick. However, electrical problems or a system that’s stopped cooling might require more expertise. Homeowners must recognize when to tackle a problem themselves and when it’s time to bring in a professional cleaner or technician.
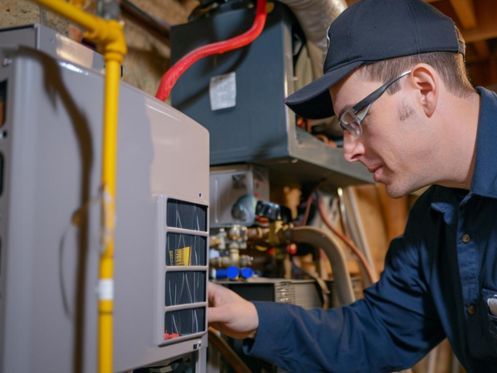
Professional Maintenance
While completing your AC maintenance checklist before the cooling and heating season is excellent for regular upkeep, it doesn’t replace the efficiency and thoroughness of a professional inspection.
Professional AC technicians will look at every component of your AC system and spot issues you might overlook. They can safely check the electrical components of the AC system and perform a detailed inspection of its more complex parts.
What Happens During A Professional Maintenance Session
So, what exactly happens during a visit by a professional AC technician? The technician will conduct a thorough system inspection. That isn’t just a glance over the external parts of your AC. It involves a deep dive into the inner workings of your system to check if everything is functioning as it should. They’ll look for any signs of wear and tear, inspect electrical connections for safety, and ensure the thermostat communicates with the AC unit accurately.
Then comes the cleaning of internal components. You might be surprised at how much dust and dirt can accumulate inside your AC, even if you’re diligent about changing filters. A professional cleaning addresses areas you can’t easily reach, removing buildup that can hinder your system’s efficiency
The last part is performance testing, which you can’t do by yourself. Professionals use specialized equipment to measure airflow, check refrigerant levels, and test that the AC is cooling your home as efficiently as possible. This step confirms that all the preventive maintenance pays off, leaving you with an AC unit ready to handle the heat.
Give Your AC a Seasonal Boost
Prepping your air conditioning system for the upcoming season involves a few straightforward steps. Start by replacing or cleaning your filters to keep airflow smooth and efficient. Next, check your thermostat to ensure it’s functioning correctly, and consider an upgrade if it’s outdated.
While these tasks are manageable on your own, Air Docs Heating and Air in Vero Beach, Florida, can lend you a hand in preparing your air conditioning system for the season ahead. We will check your AC from top to bottom and repair or replace all worn-out or obsolete components.
If you want, we can even upgrade your current AC system to a more energy-efficient one. We have the best prices and all needed licenses to work in the area. Don’t get left out in the heat this summer – call us and keep your AC running as smoothly as ice.